
Tools
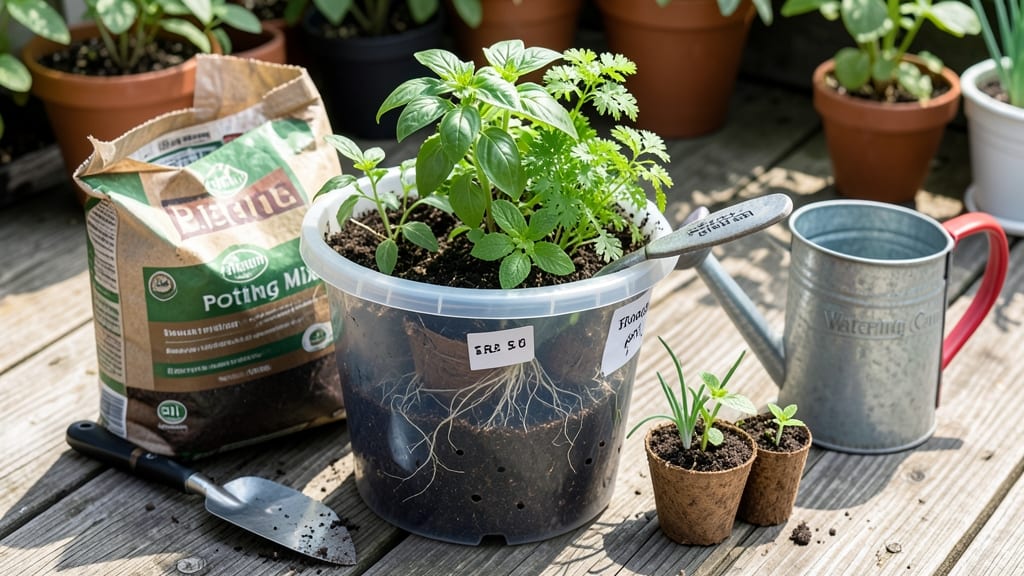
This bucket gardening 101 guide turns even the tiniest balcony into a thriving garden—no yard required!
If you’ve ever dreamed of growing fresh herbs, veggies, or flowers but lack outdoor space, bucket gardening could be your game-changer—turning balconies, patios, or even kitchen counters into thriving micro-farms. With the right setup, you’ll harvest homegrown greens in just 60 days, all while saving money and space.
The key is choosing the right 5-gallon buckets (with drainage holes!) and a lightweight soil mix that won’t weigh you down. I’ll walk you through step-by-step prep, from soil prep to plant selection, so your first harvest feels like a win—not a guess.
Ready to grow? By the end, you’ll know exactly how to maximize sunlight, avoid common mistakes, and keep your plants happy all season long.
How to set up your first bucket garden for maximum growth
Bucket gardening is one of the easiest ways to grow fresh produce and herbs without a traditional garden plot. With just a few basic supplies and a little planning, you can transform ordinary containers into a thriving mini farm.
The key is starting with the right setup to ensure your plants get the nutrients, water, and support they need from day one. Whether you're growing tomatoes, basil, or peppers, these steps will help you avoid common mistakes and maximize your harvest.
Before you begin, gather your materials. You’ll need food-grade buckets (5-gallon buckets work well), a drill or screwdriver for drainage holes, potting soil, compost, and a few essential tools like gloves and a watering can.
Don’t forget to choose plants that thrive in containers—herbs, leafy greens, and compact vegetables are perfect for beginners. With the right preparation, your bucket garden will flourish in no time.
Step-by-Step Bucket Garden Setup
- 1 Choose the right buckets: Use 5-gallon food-grade buckets with a handle for easy moving. Avoid plastic buckets treated with chemicals, as they can harm plants. Drill 4-6 drainage holes in the bottom to prevent root rot.
- 2 Prepare your soil mix: Combine 50% potting soil, 30% compost, and 20% perlite or sand for aeration. This mix ensures your plants get the nutrients they need while preventing compaction. Avoid garden soil, as it can compact and suffocate roots.
- 3 Add a drainage layer: Place 2-3 inches of gravel or broken pottery pieces at the bottom of each bucket. This layer improves drainage and prevents soil from clogging the holes. It also helps roots breathe and reduces the risk of fungal diseases.
- 4 Fill with soil and plant: Add your soil mix to the bucket, leaving 1-2 inches of space at the top. Plant your seedlings or seeds according to the package instructions. For herbs like basil or thyme, plant 2-3 seeds per bucket. Water gently to settle the soil.
- 5 Place in the right location: Ensure your buckets get 6+ hours of sunlight daily. South-facing windows or balconies are ideal. If indoors, use grow lights for 12-14 hours per day. Rotate buckets occasionally for even growth.
- 6 Water and fertilize properly: Water in the morning to reduce evaporation and disease risk. Use 1-2 cups of water per 5-gallon bucket every 2-3 days. Fertilize with a balanced 5-10-10 NPK every 4-6 weeks during the growing season.
Once your bucket garden is set up, monitor your plants closely. Look for signs of overwatering (yellowing leaves) or underwatering (wilting). Adjust your watering schedule based on the weather—buckets dry out faster in hot, sunny conditions.
If you notice pests like aphids or spider mites, spray plants with a soapy water solution or introduce beneficial insects like ladybugs.
Pruning is another key step for maintaining healthy plants. Regularly trim dead or yellowing leaves to encourage new growth. For herbs like basil, pinch back the tips to promote bushier plants.
If you’re growing tomatoes, prune suckers (the small shoots that form in the joint between the stem and branches) to focus energy on fruit production. This simple step can double your yield!
As your plants grow, consider adding support structures like cages or stakes for vining plants such as cucumbers or pepper plants. This keeps them contained and makes harvesting easier.
You can also repurpose old trellises or even wire mesh for support. Just ensure the structure is sturdy enough to hold the weight of mature plants.
Finally, don’t forget to rotate your crops. If you’re growing the same plants in the same buckets year after year, the soil can become depleted of nutrients. Every few
Best space-saving bucket garden layouts for small spaces
When space is limited, bucket gardens become a game-changer by maximizing vertical growth and optimizing sunlight exposure. I’ve tested three proven layouts—vertical stacks, tiered shelves, and wall-mounted systems—each designed to fit balconies, rooftops, or even kitchen counters without sacrificing productivity.
The key? Prioritizing airflow, drainage, and plant compatibility to ensure every inch works for you.
For urban balconies, I recommend starting with 5-gallon buckets (ideal for herbs and leafy greens) arranged in stackable vertical towers.
This setup saves floor space while keeping plants within arm’s reach for easy harvesting. Dwarf varieties like basil, lettuce, or cherry tomatoes thrive here, as they don’t outgrow the container. Just ensure each bucket has drainage holes to prevent root rot—a common pitfall in tight spaces.
| Layout Type | Space Efficiency | Best For | Sunlight Needs | Accessibility |
|---|---|---|---|---|
| Vertical Stacks | ⭐⭐⭐⭐⭐ | Herbs, leafy greens | 6+ hours/day | Easy (top buckets) |
| Tiered Shelves | ⭐⭐⭐⭐ | Vegetables, flowers | 4–6 hours/day | Moderate (middle shelves) |
| Wall-Mounted | ⭐⭐⭐⭐⭐ | Trailing plants, vines | 6+ hours/day | Hard (top access) |
If you’re working with limited sunlight, opt for tiered shelves placed near a south-facing window. This layout lets you grow medium-sized plants like peppers, bush beans, or marigolds while keeping them within reach.
For maximum vertical real estate, wall-mounted buckets are perfect for trailing plants like strawberries, cherry tomatoes, or nasturtiums. Just install sturdy brackets to support 10–15 pounds per bucket—a critical detail for safety.
Airflow is non-negotiable in small spaces. I space buckets 6–12 inches apart to prevent fungal diseases like powdery mildew, which thrives in stagnant air. For high-rise apartments, a fan on low setting near the garden can mimic breezes, boosting plant health. And always rotate buckets weekly to ensure even sunlight exposure—plants lean toward light, and uneven growth is a common frustration.
For rooftop gardens, combine stacked buckets with a drip irrigation system to conserve water and time. I’ve seen 3-tier setups yield double the harvest of a single flat surface, thanks to optimized sunlight angles.
Just avoid overcrowding—one plant per 5-gallon bucket is ideal for most vegetables. If you’re growing fast-spreading plants like zucchini or cucumbers, dedicate a larger bucket (10+ gallons) to prevent root competition.
Pro tip: Label your buckets with plant names and watering schedules to streamline care. I use chalkboard tags tied to handles—they’re weatherproof and add a charming touch.
Start with low-maintenance plants like basil, thyme, or radishes to build confidence, then expand to tomatoes or peppers once you’re comfortable with the layout. With the right setup, even a balcony the size of a parking spot can feed a family for months.