
Fertilization
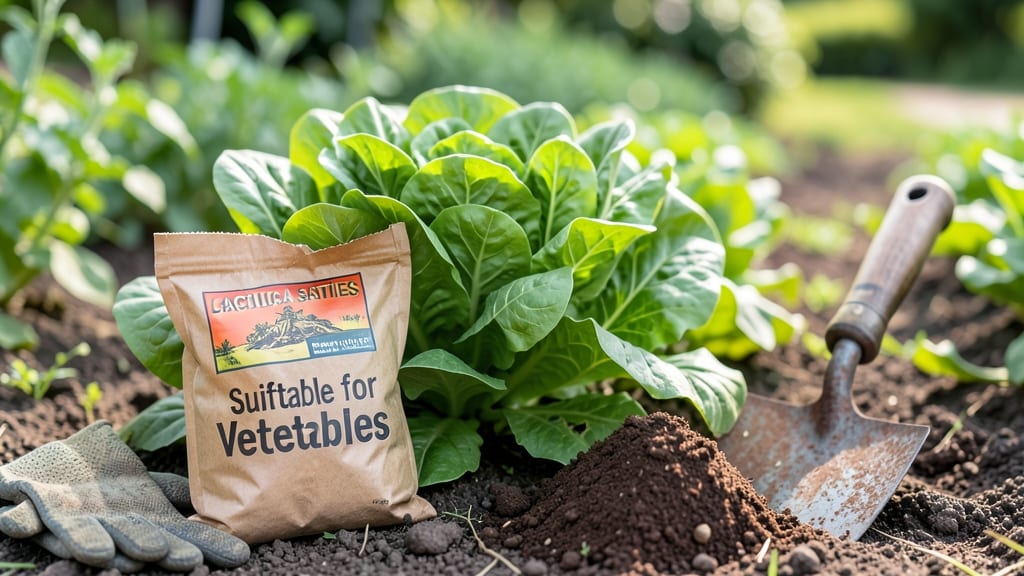
Using chicken fertilizer for gardens is one of the fastest ways to turn lackluster soil into a nutrient-rich powerhouse for your 🌱 General Garden Plants.
Here’s the catch: fresh manure burns roots like a hot cup of coffee on a tender tongue, and too much nitrogen can leave you with leafy greens but no fruit. The secret lies in aging it properly and knowing exactly how much to use—without the guesswork.
In this guide, I’ll walk you through how to source, compost, and apply chicken manure safely, whether you’re growing tomatoes in raised beds or petunias in containers. You’ll learn the right timing, dilution ratios, and even how to spot when your soil is getting too rich.
By the end, you’ll have a foolproof system to feed your garden the natural way—no synthetic fertilizers required. Ready to grow like a pro?

How to make homemade chicken manure fertilizer for maximum nitrogen benefits
Chicken manure is one of the most powerful organic fertilizers for your garden, packed with 3% nitrogen that promotes leafy growth and robust root systems. But fresh manure can burn plants and harbor harmful pathogens. The key lies in proper composting and aging techniques to create a safe, nutrient-dense fertilizer.
Whether you're growing tomatoes, roses, or herbs, this homemade fertilizer will give your soil the boost it needs without the risks.
Before you begin, gather aged chicken manure from a trusted source—never use manure from sick birds or treated with antibiotics. The composting process transforms raw manure into a stable, pathogen-free fertilizer rich in nitrogen, phosphorus, and potassium.
With a few simple steps, you can create a fertilizer that rivals commercial options while improving your garden's long-term health.
Here’s how to turn chicken manure into a nutrient-rich fertilizer your plants will love:
-
1
Source Fresh Chicken Manure
Collect manure from a reputable farm or your own backyard flock. Avoid manure from birds fed medications or treated with chemicals.
-
2
Dry the Manure
Spread the manure in a thin layer (2-3 inches) on a tarp or in a well-ventilated area. Let it dry for 1-2 weeks to reduce moisture and kill pathogens.
-
3
Build a Compost Pile
Layer dried manure with carbon-rich materials like straw, leaves, or wood chips in a 3:1 ratio (carbon to nitrogen). Keep the pile moist but not soggy.
-
4
Aging Process (6-12 Months)
Turn the pile every 2-4 weeks to speed up decomposition. After 6 months, it’s ready for garden use, but 12 months yields the most stable fertilizer.
-
5
DIY Aging Bin Option
Use a wooden bin or plastic barrel with drainage holes. Fill it with layers of manure and carbon materials, then cover with a lid to retain heat and moisture.
-
6
Test for Readiness
When the manure looks like dark, crumbly soil and smells earthy (not ammonia-like), it’s ready. A simple compost thermometer should read 140°F+ during active decomposition.
Once your manure is fully aged, it’s time to use it in your garden. For vegetable gardens, mix 1 cup per 10 sq ft into the top 6 inches of soil before planting.
For flowers and shrubs, apply ½ cup per plant as a top dressing. Always water thoroughly after application to activate nutrients and prevent burning.
Store aged manure in a dry, shaded area in a sealed container to preserve its potency. Label it with the aging date to track freshness. With proper storage, your homemade fertilizer can last up to 2 years, making it a cost-effective solution for year-round gardening.
Remember, the golden rule of chicken manure is patience. Rushing the aging process can harm your plants, but a well-composted batch will reward you with vibrant greenery and bountiful harvests. Start small—try a raised bed or container garden—to test how your plants respond before applying it garden-wide.
With this homemade fertilizer, you’re not just feeding your plants—you’re building healthy soil that will support generations of growth. Happy gardening! 🌱
Best practices for applying chicken fertilizer without burning plants
Chicken fertilizer is a gardener’s secret weapon, packed with nitrogen that fuels rapid plant growth. But fresh manure can burn tender roots if applied incorrectly. The key lies in proper aging and dilution—two steps that transform this powerful amendment into a safe, nutrient-rich boost for your garden.
Even experienced gardeners like me have learned the hard way that timing and dosage matter just as much as the fertilizer itself.
Before you grab that bucket of chicken manure, test your soil’s nitrogen levels. A simple DIY soil test (using a home kit or sending a sample to your local extension office) tells you whether your garden needs a heavy dose or just a light top-dressing.
Most garden soils benefit from 1-2 applications per year, but heavy feeders like corn or tomatoes may need more frequent feedings during the growing season.
✅ Pros of Chicken Fertilizer
- High Nitrogen: Boosts leafy growth quickly
- Improves Soil: Adds organic matter for better structure
- Cost-Effective: Cheaper than synthetic fertilizers
- Versatile: Works for veggies, flowers, and lawns
❌ Cons of Chicken Fertilizer
- Burn Risk: Fresh manure can scorch plant roots
- Strong Odor: Requires composting to reduce smell
- Pathogen Risk: Must age 6+ months to kill bacteria
- Overapplication: Can lead to nitrogen toxicity
For pre-planting applications, mix 2-3 inches of aged chicken manure into the top 6-12 inches of soil. This gives roots time to establish before hitting a nutrient rush.
In mid-season, use a diluted liquid fertilizer—mix 1 part aged manure with 10 parts water—and apply around the base of plants, avoiding direct contact with stems. Leafy greens like lettuce and spinach love this treatment, while fruit-bearing plants (like tomatoes) benefit from side-dressing.
Common mistakes include using fresh manure (always age it for 6+ months) or applying it during hot, dry weather. Instead, feed your garden in spring or early fall when cooler temps help prevent burn.
I’ve also found that mulching after application locks in moisture and nutrients, reducing waste. For container gardens, use a 1:20 ratio of aged manure to potting mix to avoid overloading delicate roots.
To test your soil’s nitrogen needs, look for yellowing leaves (a classic sign of deficiency) or stunted growth. If your plants are thriving but you want to boost production, a light application of diluted chicken fertilizer every 4-6 weeks works wonders.
Just remember: less is more—start with small amounts and adjust based on your plants’ response. Your garden will thank you with healthier foliage and bigger yields! 🌱