
Planting
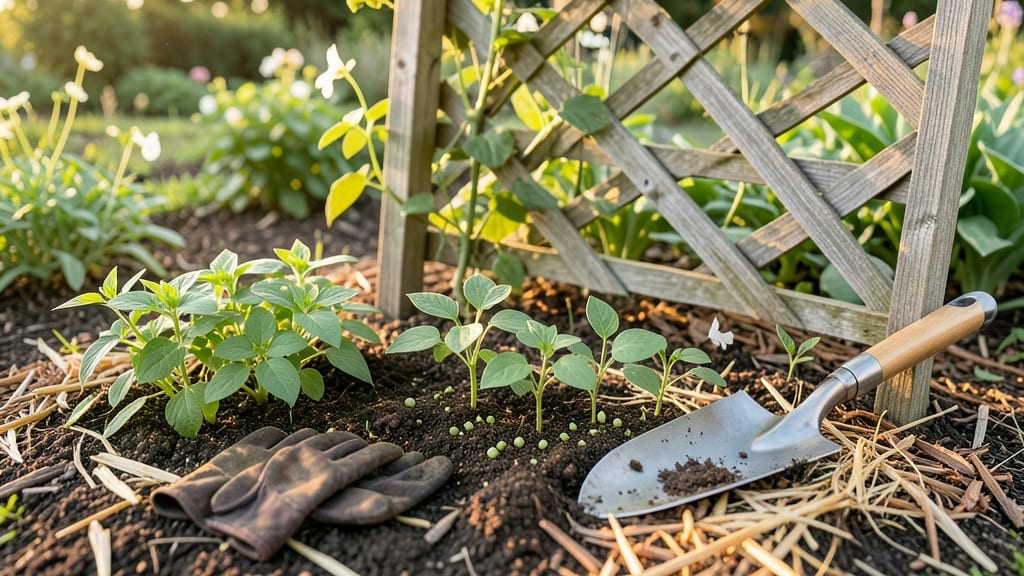
Planting string beans in a garden is easier than you think, and the secret to a bountiful harvest lies in the right timing, spacing, and soil prep.
Imagine plucking fresh, crisp string beans straight from your garden—no store-bought substitutes needed. With the right planting techniques, you can turn a small patch of soil into a thriving crop, but getting the details right makes all the difference.
In this guide, I’ll walk you through the essential steps, from preparing the soil to spacing seeds just right for maximum yield. Whether you’re a first-timer or looking to refine your method, these tricks will help you avoid common mistakes and grow beans that snap with flavor.
Ready to dig in? By the end, you’ll know exactly how to plant string beans for a harvest that’ll last from July through September.

Perfect string bean planting guide: soil, spacing, and timing secrets
Growing string beans is one of my favorite summer garden projects because they're fast-growing, productive, and delicious straight from the vine. But to get that bountiful harvest, you need to nail three key factors: soil quality, proper spacing, and perfect timing.
Skip these, and you might end up with weak plants or meager yields. Let’s break down the science behind each so you can plant with confidence.
The secret to happy string beans starts with well-draining, nutrient-rich soil that’s slightly acidic to neutral (pH 6.0-7.0). These plants thrive in loose, airy soil that won’t compact around their roots. If your garden soil is heavy clay, mix in 2-3 inches of compost or aged manure before planting.
Avoid fresh manure—it can burn tender seedlings. For container growing, use a lightweight potting mix with perlite to improve drainage.
Now, let’s talk spacing, because this varies wildly between pole beans and bush beans. Pole beans need vertical support—think trellises or stakes—and can grow 6-8 feet tall, so space them 4-6 inches apart in rows 18-24 inches apart.
Bush beans, on the other hand, stay compact (2-3 feet tall) and should be spaced 3-4 inches apart in rows 12-18 inches apart. Crowding leads to poor airflow, which invites diseases like bean rust.
Here’s where timing gets tricky. String beans are warm-season crops that hate frost. Wait until the soil temperature reaches at least 60°F (test with a soil thermometer!) before planting. In most regions, this means 2-4 weeks after your last frost date.
For a longer harvest, make successive plantings every 2 weeks until 6-8 weeks before your first frost. Pro tip: If you’re in a short-season area, start seeds indoors 2-3 weeks before your last frost, then transplant seedlings outdoors once temperatures stabilize.
| Factor | Pole Beans | Bush Beans |
|---|---|---|
| Soil pH | 6.0-7.0 | 6.0-7.0 |
| Spacing (inches) | 4-6 apart | 3-4 apart |
| Row Spacing | 18-24 inches | 12-18 inches |
| Planting Depth | 1 inch | 1 inch |
| Soil Temp | 60°F+ | 60°F+ |
| Sunlight | Full sun (6+ hrs) | Full sun (6+ hrs) |
| Mature Height | 6-8 feet | 2-3 feet |
| Harvest Time | 55-70 days | 45-60 days |
One of my biggest mistakes early on was planting string beans too early in cool soil. The seeds need warmth to germinate—if temps dip below 55°F, they’ll rot in the ground.
Use a seed heating mat if you’re in a chilly climate or start seeds indoors in biodegradable pots to avoid transplant shock. Another pro move? Plant near corn or cucumbers, which act as natural trellises for pole beans and improve yield through companion planting.
For direct sowing outdoors, scatter seeds 1 inch deep and 1-2 inches apart in hills (groups of 3-4 seeds). Thin seedlings to your desired spacing once they’re 2-3 inches tall. If you’re transplanting seedlings, harden them off for 5-7 days by gradually exposing them to outdoor conditions.
Water deeply before transplanting to reduce shock. Mulch around the base with straw or grass clippings to retain moisture and suppress weeds—this is especially critical in hot, dry climates.
Timing your harvest is just as important as planting. String beans are best picked when pods are 4-6 inches long and firm to the touch. Waiting too long
Step-by-step planting process: from seed to soil in 5 easy steps
Planting string beans successfully starts with the right preparation. Whether you're starting seeds indoors or sowing directly in the garden, following these 5 key steps ensures strong germination and healthy growth.
I’ll walk you through each phase, from seed prep to post-planting care, so you can avoid common pitfalls and enjoy a bountiful harvest.
First, gather your supplies: high-quality string bean seeds, well-draining soil, compost, a watering can, and stakes or trellises if planting pole varieties. Warm soil and consistent moisture are critical for germination, so check your soil temperature—it should be at least 60°F before planting.
If your climate is still chilly, consider using a seedling heat mat for indoor starts.
-
Step 1: Soak and Prep Seeds
Soak string bean seeds in warm water for 4-6 hours to speed up germination. This softens the seed coat and encourages faster sprouting. After soaking, lay them on a damp paper towel in a warm spot for 1-2 days until tiny white roots appear.
-
Step 2: Start Seeds Indoors (Optional)
If your growing season is short, start seeds indoors 4-6 weeks before the last frost. Use seed-starting trays with well-draining potting mix and plant seeds 1 inch deep. Keep them in a warm, sunny spot or under grow lights for 12-16 hours/day.
-
Step 3: Harden Off Seedlings
Before transplanting, harden off seedlings over 7-10 days. Place them outdoors in a sheltered spot for a few hours daily, gradually increasing exposure to sun and wind. This helps them adjust to outdoor conditions and reduces transplant shock.
-
Step 4: Plant Seeds or Seedlings
For direct sowing, plant seeds 1 inch deep and 3-4 inches apart in rows 18-24 inches apart. If transplanting seedlings, space them 4-6 inches apart. Mix compost into the soil for nutrients and add a trellis or stakes for pole varieties to climb.
-
Step 5: Post-Planting Care
Water consistently to keep soil moist but not waterlogged. Mulch around plants to retain moisture and suppress weeds. Fertilize lightly with a balanced 10-10-10 fertilizer every 4-6 weeks during the growing season. Watch for pests like bean beetles and treat early with neem oil if needed.
After planting, monitor your string beans closely for signs of stress or pests. Yellowing leaves often indicate overwatering or nutrient deficiency, while stunted growth may signal poor soil quality. If you notice powdery mildew on leaves, improve air circulation and avoid overhead watering.
With the right care, your plants should thrive and produce crisp, flavorful pods in as little as 50-60 days.
Once your string beans start flowering, you’ll see tiny pods forming within a week. This is your cue to begin harvesting regularly—picking beans frequently encourages more production. Aim to harvest every 2-3 days during peak season to keep your plants productive.
Store freshly picked beans in the fridge for up to 5 days or freeze them for long-term storage.
With these 5 simple steps, you’ll be well on your way to a thriving string bean garden. Remember, consistency in watering and soil care is key, and don’t hesitate to experiment with different varieties like Kentucky Wonder or Blue Lake to find your favorite. Happy planting! 🌱