
Tools
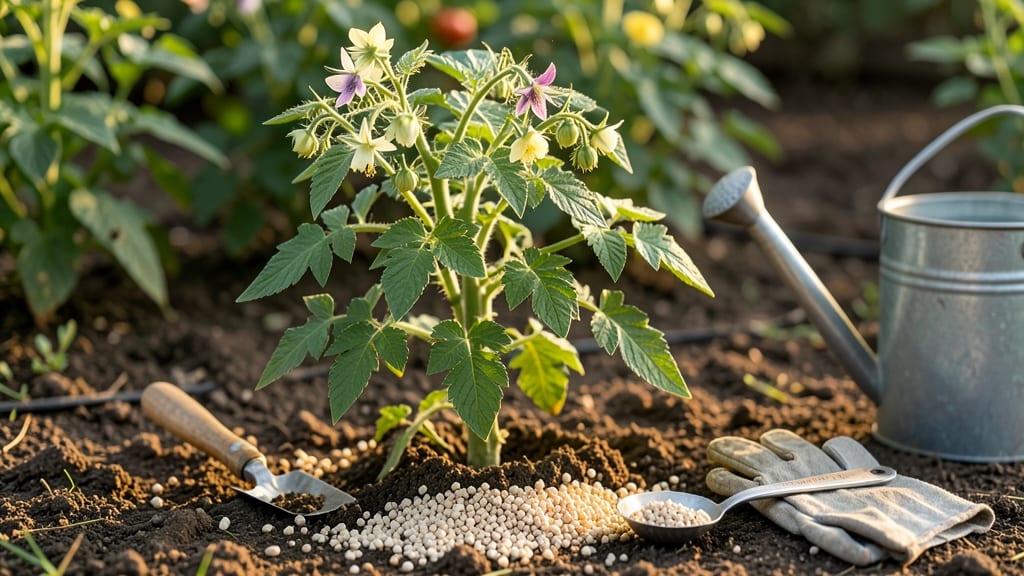
To use bone meal in your garden, start by mixing it into the soil at planting time for a fast phosphorus boost that roots and blooms will love.
Struggling with stunted root growth or weak flowering plants? Bone meal could be your garden’s secret weapon—packed with fast-acting phosphorus to supercharge root development and blooms. Unlike slow-release fertilizers, it works quickly, making it perfect for spring planting of vegetables and flowering plants in zones like 6a.
This organic fertilizer isn’t just for showy blooms—it’s a game-changer for root crops like carrots and potatoes, too. But timing matters: apply it at planting or when flowers bud, never mid-season, to avoid burning delicate roots.
I’ll walk you through the exact amounts, best plants to use it on, and how to avoid overdoing it.
Ready to transform your garden? You’ll discover the easiest way to mix it in, when to skip it, and how to tell if your plants are getting too much. Let’s get those roots growing strong!
What is bone meal and how it boosts plant growth
If you’ve ever wondered why some plants thrive with explosive root growth or burst into vibrant blooms while others struggle, the answer might be hiding in your bone meal jar.
This organic powerhouse is packed with phosphorus, the middle number in that familiar NPK ratio (like 3-15-15), that plants crave for energy transfer—think of it as their biological battery booster.
Bone meal is derived from steamed animal bones, typically cattle, and processed into a fine powder. Unlike slow-release organic matter like compost, bone meal delivers a fast-acting phosphorus punch that roots can absorb quickly.
This makes it ideal for plants that need a quick nutrient kick, especially during critical growth phases like flowering or fruiting stages.
But here’s the catch: not all bone meal is created equal. You’ll find two main types—organic bone meal (derived from natural sources) and synthetic bone meal (chemically processed).
Organic versions break down slower, feeding plants over months, while synthetic options release nutrients faster but may lack the soil-improving benefits of organic matter.
The real magic happens in the root zone. Phosphorus from bone meal stimulates root development, helping plants establish stronger networks to access water and nutrients.
For flowering plants like roses or tomatoes, it triggers more abundant blooms and fruit set. Even seedlings benefit from a phosphorus boost at planting time.
Let’s break down the science behind bone meal’s superpowers in this quick reference guide:
One common misconception is that bone meal is a complete fertilizer. It’s not—it’s phosphorus-focused, so you’ll still need to balance it with nitrogen (for leafy growth) and potassium (for disease resistance). Think of it as a targeted supplement rather than a one-stop solution.
For organic gardeners, bone meal is a fantastic way to recycle nutrients without synthetic chemicals. However, it’s not suitable for everyone. If you’re growing plants that prefer low-phosphorus soils (like blueberries or azaleas), bone meal could actually harm them by throwing off the pH balance.
Always check your soil test results first!
Another pro tip: bone meal works best in slightly acidic to neutral soils (pH 6.0–7.0). If your soil is alkaline, the phosphorus becomes less available to plants. In that case, pair bone meal with elemental sulfur to lower pH gradually.
So, whether you’re prepping your garden for spring planting or giving established plants a mid-season boost, bone meal is a versatile tool in your fertilizer arsenal. Just remember: a little goes a long way—overuse can lead to phosphorus buildup, which harms soil health over time.
Step-by-step guide: when, where, and how to apply bone meal
Bone meal is a powerhouse for root development and flowering plants, but timing and application matter. Use it at the right stage—like planting or early growth—to avoid wasting nutrients.
For vegetables like carrots or flowers like roses, a little goes a long way. Let’s break down the best practices to maximize results without overdoing it.
First, identify the best time to apply bone meal: planting season (spring or fall) or during active growth phases for flowering plants. Avoid using it when plants are dormant or stressed.
For trees and shrubs, focus on early spring or late summer. Always mix it into the top 2-3 inches of soil—never apply it directly to plant stems or leaves.
- 1 Choose the Right Time
- 2 Prep the Soil
- 3 Apply the Bone Meal
- 4 Water Thoroughly
- 5 Avoid Common Mistakes
Planting Season: Mix 1-2 tbsp into each planting hole for root crops or flowering plants.
Mid-Season: Use 1 tbsp per plant during blooming stages (e.g., roses, tomatoes).
Loosen the top 6 inches of soil with a garden fork or trowel. For container gardens, mix 1 cup of bone meal per 10 sq ft of soil.
Avoid applying to waterlogged soil—wait until it’s slightly dry.
For vegetables (carrots, beets): Sprinkle 1 tbsp per hole and mix into soil.
For flowers (roses, petunias): Use 2 tbsp per plant and water lightly.
For trees/shrubs: Spread ½ cup around the drip line and mulch.
Water the soil deeply after application to activate nutrients. Avoid overwatering, which can leach phosphorus away.
Use a soaker hose for even distribution.
❌ Overapplying: Too much phosphorus can burn roots or cause nutrient imbalances.
❌ Applying to leafy greens: Focus on root and flowering plants instead.
❌ Using near seedlings: Wait until plants are 2-3 inches tall.
Bone meal works best when paired with compost or balanced fertilizers for long-term soil health. For container plants, reapply every 2-3 months during the growing season. Monitor your plants for signs of phosphorus deficiency (purple stems) or excess (yellowing leaves), and adjust accordingly.
Pro tip: Store bone meal in a cool, dry place to prevent clumping. If you notice white mold on the surface, it’s time to discard it—this means the product has degraded. With the right approach, bone meal will give your garden a visible boost in just weeks! 🌷