
Picking
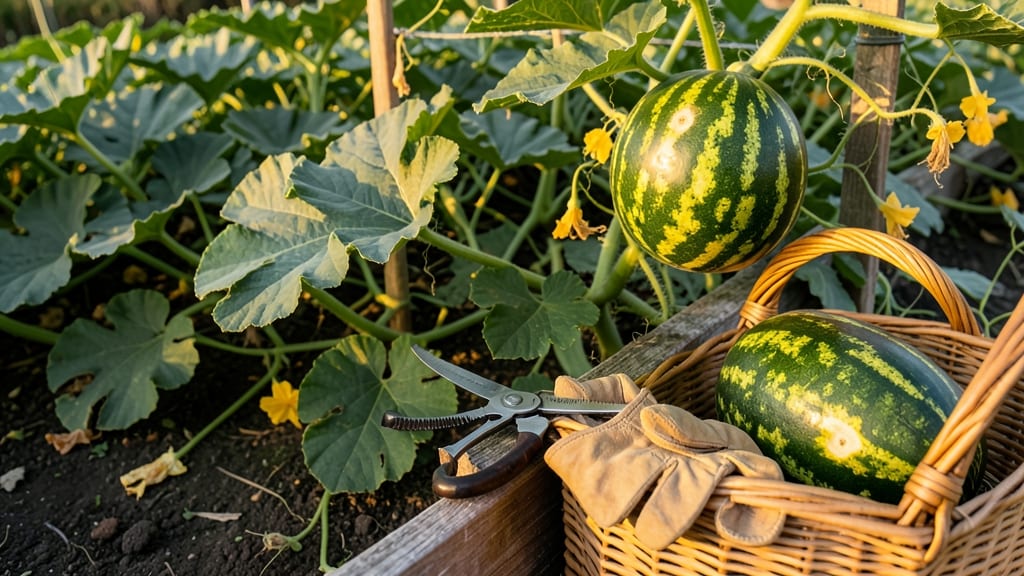
To pick watermelon from your garden at the perfect moment means catching that sweet spot between rock-hard and mushy overripe—something even experienced growers sometimes miss.
Picture this: you’ve waited all summer for that 🍉 to ripen, only to cut into it and find bland, watery flesh. The difference between a disappointing harvest and a juicy, flavor-packed watermelon often comes down to timing—and the right cues.
Most gardeners rely on size or color alone, but those aren’t foolproof. Instead, I’ll show you three science-backed field tests that take the guesswork out of harvesting, from the classic thump to the often-overlooked tendril trick.
By the end, you’ll know exactly when to reach for that knife, how to adjust for your USDA Zone 6a climate, and even how to store your harvest to keep it fresh for weeks.

3 Field tests to determine when watermelons are ripe for harvesting
Harvesting watermelons at the perfect moment transforms your garden labor into sweet, juicy rewards. But how do you know when that moment arrives? Watermelons don’t come with expiration dates, so you’ll need to rely on three field-tested methods: the thump test, curl check, and ground spot analysis.
Each technique reveals critical clues about ripeness, flavor development, and texture—helping you avoid both underripe blandness and overripe mushiness.
I’ve used these same tests for years in my garden, and they’ve never failed to deliver consistently sweet watermelons. The key is combining all three methods for the most accurate results.
For example, a watermelon might pass the curl check but fail the thump test—this is your cue to wait a few more days. Let’s break down each test so you can confidently harvest like a pro.
The Thump Test
Tap the watermelon with your knuckles—hollow sound means it’s ripe. A dull thud signals it needs more time.
The Curl Check
Look for the curl tendril near the stem—when it turns brown and crispy, the watermelon is ready.
The Ground Spot Test
Check the stem end—a creamy yellow spot means it’s ripe. Green or white means wait longer.
The thump test is the most straightforward way to gauge internal ripeness. Stand near your watermelon patch and give each candidate a firm knock with your knuckles. A ripe watermelon will produce a deep, hollow echo—almost like a drum.
If you hear a dull thud, the flesh is still developing. Pro tip: Perform this test in the morning when temperatures are cooler, as heat can distort the sound.
For the curl check, focus on the small, curly vine that connects to the watermelon’s stem. When this tendril dries up and turns brown, it’s your green light to harvest.
I’ve seen gardeners overlook this sign and pick watermelons too early, resulting in watery, seedy fruit. Wait until 90% of the tendril is brown—this ensures peak sweetness. If the tendril is still green or partially green, give it another 3-5 days.
The ground spot test is often the most reliable indicator, especially for seedless varieties that lack the classic tendril. Simply inspect the spot where the watermelon sat on the ground. A ripe watermelon will have a creamy yellow patch about the size of a quarter.
If the spot is white or green, the watermelon needs more time. Yellow spots mean the sugars have fully developed, guaranteeing that sweet, refreshing flavor we all crave.
Combine all three tests for foolproof results. For instance, a watermelon might pass the thump test but fail the ground spot test—this inconsistency means it’s not fully ripe. Harvest only when all three tests align.
I once picked a watermelon that sounded hollow but had a green ground spot, and the flesh was disappointingly bland. Since then, I’ve made it a rule to cross-reference every test before cutting the stem.
Timing is everything with watermelons, and these tests take the guesswork out of the process. Overripe watermelons develop a grainy texture and lose their sweetness, while underripe ones taste like water. By mastering these three methods, you’ll enjoy perfectly ripe watermelons every harvest season—no more wasted effort or bland bites.
Once you’ve confirmed ripeness, use a sharp knife or pruning shears to cut the stem about 1-2 inches from the watermelon. This prevents the fruit from absorbing bacteria through an open wound.
Store your freshly harvested watermelons in a cool, dry place (50-55°F) for up to two weeks, or enjoy them immediately for the freshest flavor possible.
With practice, these field tests will become second nature, and you’ll develop an almost intuitive sense for when your watermelons are ready. Happy harvesting—your taste buds will thank you!
How to avoid common harvesting mistakes that ruin watermelon flavor
Even the most patient gardeners can fall victim to harvesting mistakes that turn sweet watermelon dreams into bland disappointment. Picking too early means underdeveloped sugars and tough flesh, while waiting too long risks overripe mushiness and wasted effort.
The key lies in understanding environmental cues and post-harvest care that preserve that perfect balance of sweetness and texture.
One of the biggest mistakes is ignoring the 75-day rule for most watermelon varieties. While some heirlooms take longer, assuming all melons ripen on the same schedule leads to uneven harvests.
Heatwaves can accelerate ripening, while cool nights slow it down—so don’t rely solely on days since planting. Instead, combine visual checks with environmental awareness for foolproof results.
⚠️ Critical Harvesting Mistakes to Avoid
- Picking too early: Melons won’t develop full sweetness (60+ days minimum)
- Overripe melons: Soft spots and seedy flesh ruin texture
- Ignoring tendrils: Brown, dried tendrils = ripe; green = not ready
- Harvesting in heat: Stress from 90°F+ temps accelerates spoilage
Pro Tip: Use a sharp knife to cut stems—never twist—to prevent damage that shortens shelf life.
Environmental factors play a surprising role in watermelon flavor. High humidity during ripening can dilute sugars, while consistent daytime temps above 80°F help develop that signature sweetness. If your melons feel soggy or develop white powdery mildew, they’ve likely been overwatered in humid conditions.
The solution? Space vines properly for airflow and water deeply but infrequently—aim for 1-2 inches per week during peak ripening.
Post-harvest care is where many gardeners drop the ball. Storing watermelons in the fridge too soon triggers chilling injury, turning sweet flesh mealy. Instead, keep them at 70-75°F with 50-60% humidity for up to 2 weeks.
For longer storage, wrap the stem end in plastic wrap to slow moisture loss. And here’s a pro move: Let harvested melons cure in the sun for 3-5 days to develop full flavor before storing.
Don’t assume all watermelons ripen at the same time on the vine. The largest melon isn’t always the sweetest—focus on color uniformity and tendril dryness instead. If you’re harvesting a mix of varieties, like Sugar Baby and Crimson Sweet, monitor each plant individually.
Early-season heat can cause blossom-end rot in some varieties, so check for dark, sunken spots and remove affected fruit immediately to redirect the plant’s energy.
For container growers, timing becomes even trickier. Potted watermelons often ripen 2-3 weeks earlier than in-ground plants due to warmer soil temps and limited root space. If you’re growing dwarf varieties like Tiny Tim, watch for stem hardening and hollow sounds—these are your best indicators.
And remember: Never harvest watermelons that touch the ground; they’ll rot before ripening. Use straw mulch to protect them from soil contact.