
Fertilization
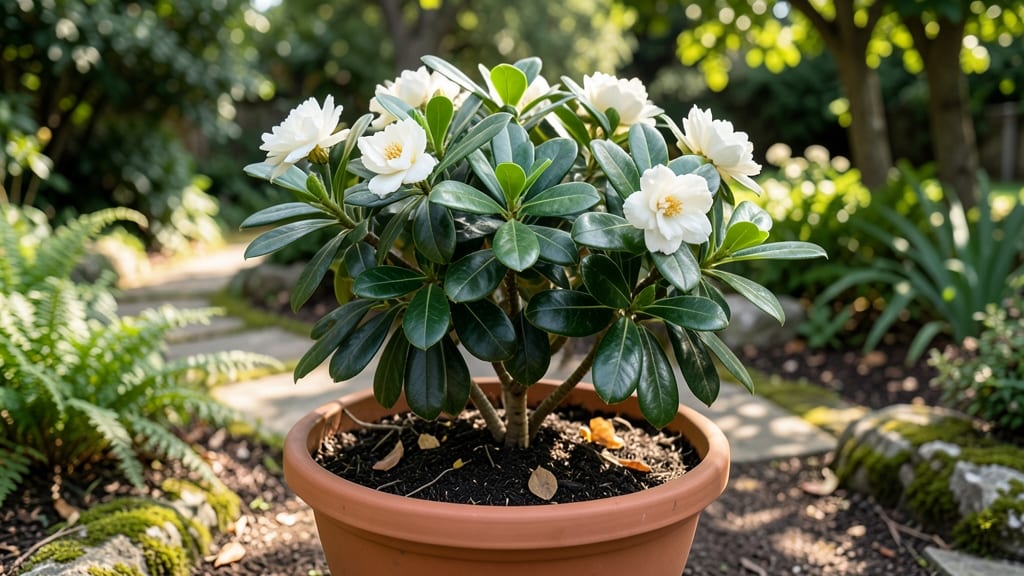
A natural fertilizer for gardenias made from coffee grounds, banana peels, and eggshells can make the difference between sparse blooms and a lush, fragrant shrub.
Struggling to keep your gardenias blooming beautifully without harsh chemicals? The secret might be hiding in your kitchen and coffee grounds—these natural options can transform your gardenia care routine with minimal effort and maximum impact.
Gardenia plants thrive when their soil stays rich in nutrients but acidic enough to mimic their native tropical environment. Unlike synthetic fertilizers, natural options like coffee grounds and banana peels won’t burn roots or disrupt the delicate pH balance these plants crave.
In this guide, I’ll walk you through the best kitchen-scrap fertilizers, how often to use them, and exactly how much to apply—so your gardenias reward you with bold blooms and healthier foliage all season long.
How coffee grounds boost gardenia growth naturally
If your gardenias aren't blooming as beautifully as you'd like, coffee grounds might be the natural solution you've been missing. These humble kitchen scraps pack a powerful punch for your acid-loving shrubs, providing nitrogen, microbial activity, and soil acidity—all essential for thriving gardenias.
Unlike synthetic fertilizers, coffee grounds work with your soil's natural ecosystem while being completely free and easy to use.
Gardenias thrive in acidic soil with a pH between 5.0 and 6.5, and coffee grounds help maintain this ideal range. Beyond acidity, they introduce beneficial microbes that break down organic matter, releasing nutrients your gardenias can absorb.
Plus, the nitrogen in coffee grounds promotes lush foliage and vibrant blooms—making them a perfect match for these fragrant shrubs.
Before adding coffee grounds, it's crucial to understand how to use them effectively. Overdoing it can lower soil pH too much, harming your plants. The key is balance: using the right amount at the right time while preparing your soil properly.
Let's dive into the science and step-by-step methods to maximize your gardenias' growth naturally.
| Method | Benefits | Best For | Frequency |
|---|---|---|---|
| Fresh Coffee Grounds | High nitrogen, microbial boost | New plantings, acidic soil | Every 4-6 weeks |
| Composted Coffee Grounds | Balanced nutrients, slow release | Established gardenias, blooming season | Every 8-12 weeks |
| Coffee Ground Tea | Gentle nutrient infusion, no clumping | Container gardenias, sensitive roots | Every 2-3 weeks |
| Mulch Layer (1 inch) | Slow acidification, moisture retention | Year-round soil health, drought-prone areas | Once per season |
To start using coffee grounds, begin by testing your soil's pH with a simple kit from your local garden center. Gardenias prefer acidic soil, so aim for a reading between 5.0 and 6.5.
If your soil is already in this range, you can safely add coffee grounds. If it's too alkaline, you'll need to amend the soil first with peat moss or sulfur before applying coffee grounds.
For fresh coffee grounds, sprinkle a thin layer (about 1/4 inch) around the base of your gardenia, but avoid piling them directly against the stem. This prevents rot and allows the grounds to decompose gradually.
Water the area lightly to help the grounds integrate into the soil. Composted coffee grounds are even better—they've lost their harsh acidity and provide a steady nutrient release without risking over-acidification.
Another effective method is making coffee ground tea. Simply steep used coffee grounds in water for 24 hours, then strain and dilute the liquid 50/50 with water before applying it to your gardenia's soil.
This gentle infusion delivers nutrients without the risk of clumping or over-acidifying. Use it every 2-3 weeks during the growing season for consistent results.
When applying coffee grounds, focus on the root zone—about 6 inches out from the plant's base. Avoid overdoing it, as too much can lower soil pH too quickly, leading to yellowing leaves or stunted growth.
If you notice these signs, reduce the frequency or switch to composted grounds. For container gardenias, mix a small amount (1-2 tablespoons) into the soil every few months to maintain acidity and nutrient levels.
Timing is everything when it comes to fertilizing gardenias. Apply coffee grounds in early spring, just as new growth begins, and again after the first flush of blooms in late spring. During the summer, reduce applications to every 6-8 weeks to avoid overwhelming the plant.
In fall and winter, skip coffee grounds entirely—your gardenia will enter a dormant phase and won't benefit from additional nutrients.
Pair coffee grounds with other natural fertilizers like compost, worm castings, or banana peels for a balanced nutrient boost. For example, banana peels provide potassium, which supports blooming, while compost adds organic matter to improve soil structure.
Together, these create a powerhouse fertilizer that keeps your gardenias thriving without harsh chemicals.
Remember, the goal is to enhance your gardenia's natural growth, not force it. With the right balance of coffee grounds, soil preparation, and timing, you'll see healthier foliage, more abundant blooms, and stronger roots—all while keeping your garden eco-friendly and chemical-free. 🌸
Eggshells and banana peels: unexpected fertilizers for gardenias
Your gardenias crave nutrients to thrive, but you don’t need expensive fertilizers—your kitchen scraps can work wonders! Eggshells provide essential calcium to prevent yellowing leaves, while banana peels offer potassium for vibrant blooms.
Combined with coffee grounds, these scraps create a balanced nutrient trio that gardenias love. Let’s turn your waste into a nutrient powerhouse for lush, fragrant blooms.
Before diving in, it’s crucial to prepare these fertilizers correctly. Eggshells must be crushed into a fine powder to dissolve quickly, while banana peels should be chopped or blended for faster nutrient release.
Both can be applied directly to the soil or composted first for a slower, steady feed. The key is consistency—think of these as micronutrient boosters rather than quick fixes.
How to Use Eggshells & Banana Peels for Gardenias
- 🥚 Crush eggshells into a fine powder using a mortar and pestle or blender. Sprinkle 1 tbsp per plant around the base, then water thoroughly to dissolve.
- 🍌 Chop banana peels into small pieces and bury them 1 inch deep near the roots. Alternatively, blend them into a liquid fertilizer by steeping in water for 24 hours.
- ☕ Combine with coffee grounds by mixing 1 part crushed eggshells, 1 part banana peel chunks, and 2 parts used coffee grounds into the topsoil. This trio balances calcium, potassium, and nitrogen perfectly.
- 🌱 Apply monthly during the growing season (spring to early fall). Avoid overdoing it—too much potassium can harm gardenias, so stick to 1 application per month.
- 💧 Water after application to activate nutrients and prevent salt buildup. This also helps the soil absorb the minerals more efficiently.
One of my favorite tricks is creating a compost tea with these scraps. Simply toss crushed eggshells, banana peel scraps, and coffee grounds into a bucket of water. Let it steep for 24–48 hours, then strain and use the nutrient-rich liquid to water your gardenias.
This method ensures even distribution of nutrients without the risk of over-fertilizing. Plus, it smells surprisingly fresh!
Gardenias thrive on acidic soil, and while eggshells might seem counterintuitive (they’re alkaline), the small amounts used won’t disrupt the pH. In fact, the calcium helps strengthen cell walls, making your plants more resilient to pests and diseases.
Pair this with coffee grounds—another alkaline-neutralizer in moderation—and you’ve got a dynamic nutrient cycle that keeps your gardenias happy and blooming.
For container gardenias, mix these fertilizers directly into the potting soil during repotting season. Use 1 part crushed eggshells and 1 part banana peel chunks per 4 parts soil. This slow-release method ensures your potted gardenias get a steady supply of nutrients without the risk of runoff.
Just remember: less is more—overloading can lead to nutrient imbalances or even root burn.
Watch your gardenias transform as they receive this natural nutrient boost. Within a few weeks, you’ll notice darker green leaves, fewer yellowing edges, and—most exciting—more abundant, fragrant blooms. It’s amazing what a little kitchen magic can do for your garden! 🌸