
Tools
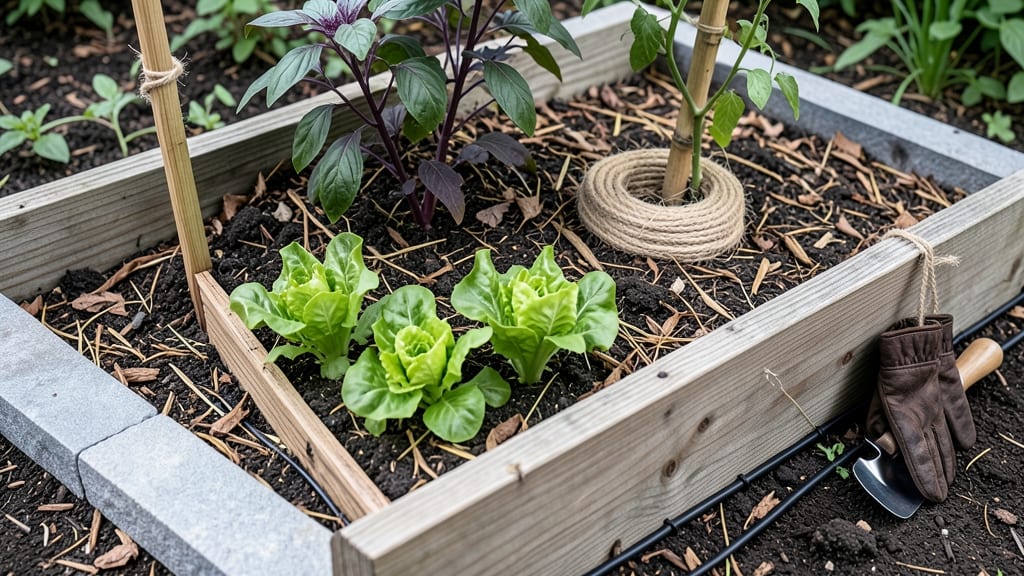
Outdoor raised garden bed ideas can turn even the smallest yard into a lush, productive green space 🌱—without needing a shovel or a sprawling plot.
Picture this: a cozy balcony bursting with herbs, a snug corner bed packed with salad greens, or a sleek vertical wall dripping with cherry tomatoes. These designs aren’t just practical—they’re the secret weapon for gardeners with limited room.
From space-saving tiered beds to stylish metal frames that blend with modern patios, the right raised garden bed adapts to your space, not the other way around. Whether you’re working with a 6-foot balcony or a cramped backyard, these layouts make growing easier—and more rewarding.
Below, I’ll walk you through 10 creative designs, the best materials for durability, and pro tips to maximize your harvest in tight quarters. Let’s get started!
10 Space-saving raised garden bed designs for small yards
Small spaces shouldn’t limit your gardening dreams. With the right raised garden bed design, you can grow a lush garden even in tight yards, patios, or balconies. These innovative layouts maximize vertical space while keeping maintenance simple.
Whether you’re growing herbs, vegetables, or flowers, these designs help you make the most of every square foot without sacrificing aesthetics or productivity.
I’ve tested these designs in my own urban backyard, and they’ve transformed dead space into thriving green oases. The key is choosing a layout that fits your space, sunlight conditions, and gardening goals.
From corner solutions to multi-level systems, each design offers unique benefits for small-scale growing. Let’s explore the best options to fit your needs and style.
Comparison Table: Space-Saving Raised Garden Bed Designs
| Design Name | Best For | Dimensions | Materials | Key Features |
|---|---|---|---|---|
| Vertical Pocket Planter | Herbs, leafy greens | 24" W x 12" D x 48" H | Cedar or composite | 12 pockets, full sun |
| Tiered Stacking Beds | Vegetables, flowers | 36" W x 18" D x 36" H (total) | Redwood or metal | 3 levels, easy access |
| Corner Triangle Bed | Succulents, strawberries | 24" x 24" x 24" (triangle) | Recycled plastic | Uses wasted corner space |
| Window Box Alternative | Herbs, flowers | 12" W x 6" D x 12" H | Cedar or metal | Mounts to walls/fences |
| Spiral Herb Garden | Herbs, microgreens | 24" diameter x 18" H | Stone or composite | Spiral design for varied sun |
| Hanging Basket Bed | Trailing plants | 18" diameter x 12" H | Coconut coir | Suspended from ceilings |
| Modular Grid System | Vegetables, flowers | 12" x 12" units | Bamboo or cedar | Customizable layouts |
| Arcade Trellis Bed | Vining plants | 36" W x 12" D x 48" H | Metal or PVC | Vertical growing space |
| Pallet Garden Bed | Vegetables, herbs | 48" L x 24" W x 12" H | Recycled wood pallets | Budget-friendly option |
| Raised Planter Bench | Seating + plants | 42" L x 18" W x 18" H | Cedar or stone | Doubles as seating |
The vertical pocket planter is my top recommendation for beginners. Its 12 individual pockets make it easy to grow herbs like basil and leafy greens without overcrowding. The design maximizes sunlight exposure for each plant, which is crucial in small spaces.
I’ve seen basil grow twice as fast in these pockets compared to traditional beds because of better air circulation.
For those with limited floor space, tiered stacking beds are a game-changer. These beds create a cascading effect while utilizing vertical space efficiently. The top level gets the most sun, perfect for tomatoes or peppers, while the bottom level works well for shade-tolerant plants like lettuce.
Just ensure each level has proper drainage to prevent root rot.
If you’re working with awkward corners, the cor
Best materials and construction tips for durable raised beds
When building your outdoor raised garden beds, choosing the right materials is crucial for longevity and aesthetics. Cedar and redwood are classic choices, offering natural resistance to rot, but they come with higher upfront costs. Composite lumber is another durable option that mimics wood while requiring less maintenance.
For budget-friendly solutions, recycled materials like cinder blocks or untreated pallets can work beautifully with a little extra care.
I’ve found that bed height also plays a key role in usability and plant selection. A 12-inch height is ideal for most gardeners, offering easy access without straining your back. If you’re growing deep-rooted plants like tomatoes or carrots, consider 18-inch beds to accommodate their needs.
For mobility-impaired gardeners, 24-inch beds with built-in seating or knee spaces can transform gardening into a comfortable experience.
Before assembling, prioritize proper drainage by adding a layer of landscape fabric and gravel at the bottom. This prevents waterlogging, which can lead to root rot. I always use corner braces and galvanized screws to reinforce the structure, especially for taller beds.
For extra stability, consider burying the bottom 6 inches into the ground or securing the frame with stakes.
Material Comparison for Raised Beds
Cedar
- ✅ Pros: Naturally rot-resistant, attractive grain, lasts 10-15 years
- ✅ Aesthetic appeal, eco-friendly
- ⚠️ Cons: Expensive ($4-$7 per board foot)
- ⚠️ Requires sealing to prevent warping
Redwood
- ✅ Pros: Naturally resistant to decay, lightweight, lasts 15-20 years
- ✅ Affordable than cedar ($3-$6 per board foot)
- ⚠️ Cons: Less available than cedar, can fade in sun
- ⚠️ Requires maintenance over time
Composite Lumber
- ✅ Pros: Rot-proof, low maintenance, lasts 25+ years
- ✅ Won’t warp or splinter
- ⚠️ Cons: Higher cost ($6-$12 per board foot)
- ⚠️ Less eco-friendly (plastic-based)
Recycled Materials
- ✅ Pros: Budget-friendly ($1-$3 per unit), eco-friendly
- ✅ Customizable shapes and sizes
- ⚠️ Cons: Requires sealing/painting, shorter lifespan (5-10 years)
- ⚠️ May contain chemicals (check for safety)
For a DIY-friendly approach, I recommend starting with 2x6 or 2x8 boards for the sides, depending on your desired width. Use galvanized screws to assemble the frame, pre-drilling holes to prevent splitting. If you’re using untreated wood, apply a non-toxic sealant to protect against moisture and pests.
For a rustic look, consider staining or painting the wood after assembly—just ensure the finish is safe for edible plants.
Don’t overlook the importance of soil quality in your raised bed. Fill it with a mix of topsoil, compost, and perlite to create a nutrient-rich environment.
I like to layer 3 inches of compost at the bottom, followed by a 6-inch layer of topsoil, and top it with 2 inches of mulch to retain moisture. This setup ensures your plants have the best possible growing conditions while keeping weeds at bay.
Finally, consider adding built-in features like trellises for climbing plants or integrated irrigation systems. For example, a drip irrigation tube buried along the bottom of the bed can deliver water directly to roots, saving time and effort.
If you’re working with limited space, stackable or modular beds allow you to expand your garden as needed without sacrificing mobility or aesthetics.
With the right materials and a little planning, your raised garden bed will not only be durable but also a stunning centerpiece in your outdoor space. Whether you’re growing vegetables, herbs, or flowers, these tips will help you create a thriving garden that lasts for years.